blog categories:
LUXURY VENUES
ENGAGEMENTS
WEDDINGS
ELOPEMENTS
The Only Wedding Day Timeline Checklist You’ll Need
Your wedding day is unarguably one of the most exciting and special days of your life! The memories you make should be those of dancing the night away with your loved ones, exchanging heartfelt vows with your spouse, and indulging in the food and drinks you carefully (and let’s admit it, painstakingly) chose to make even the pickiest of your nephews happy.
You could say that the team here at Ma Maison is very experienced in weddings. And we’ve unfortunately seen some cases where a bride and groom are more stressed out than they should be on their wedding day, trying to run around and take care of all the details while the wedding is happening.
So, the question is… how do you avoid this? The key to being able to relax and enjoy your big day is to plan ahead and create a wedding day timeline, otherwise known as a run-sheet or day-of timeline. Let’s get into what it is and how you can create your own wedding timeline. At the end of this article, we’ll be showing you an example of a wedding day timeline as well.

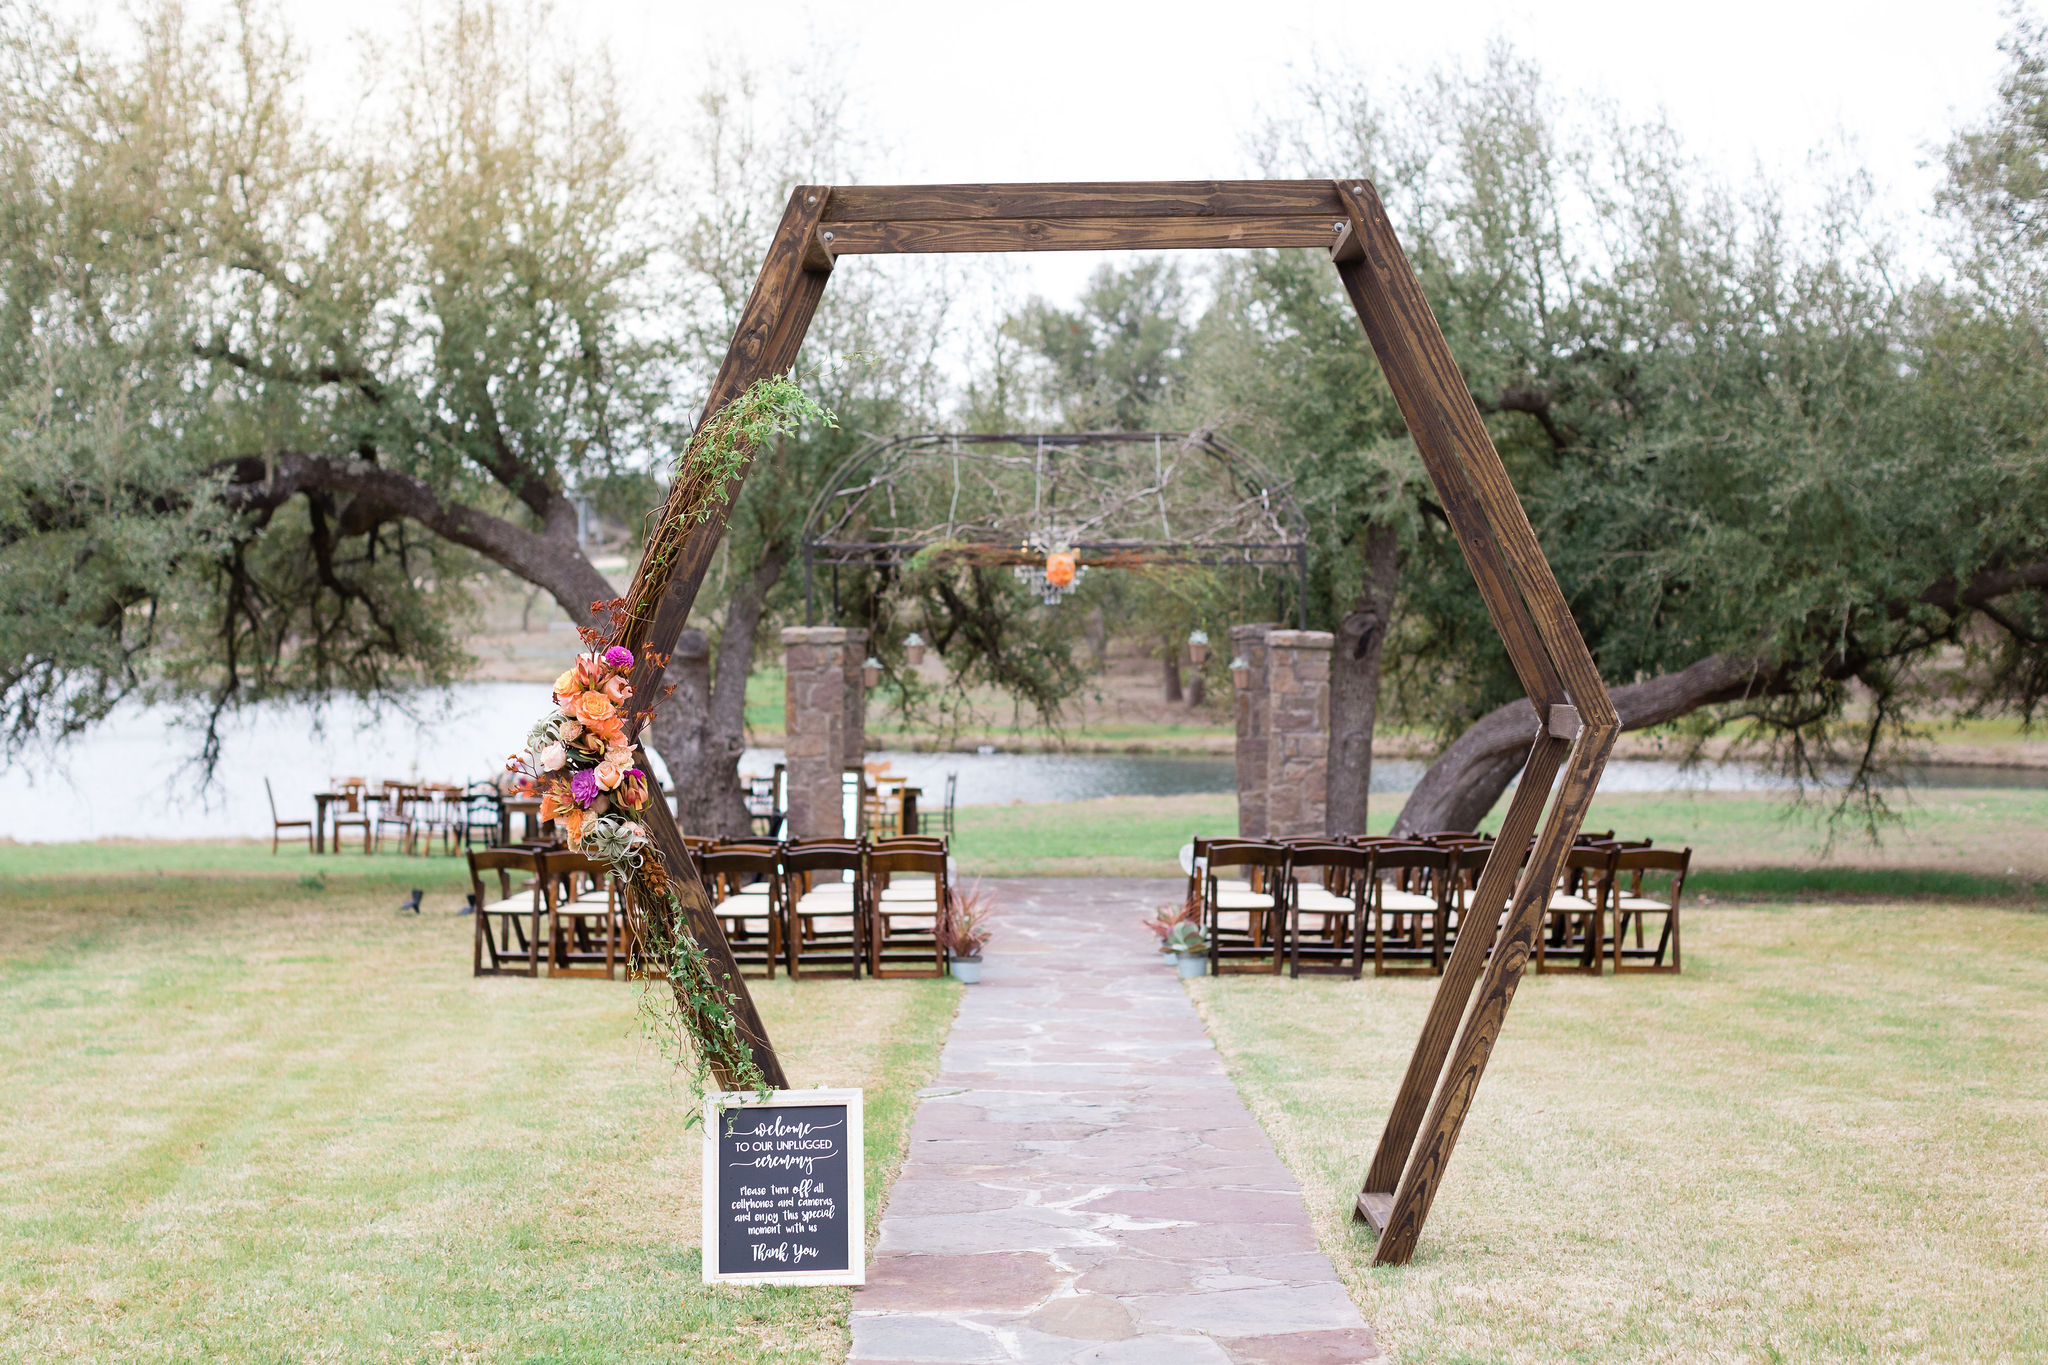
Photography by Two Fish
What is a Wedding Day Timeline? (and why should you use one?)
A wedding day timeline is a timesheet of all the planned moments of your wedding day — think of it like a guide to ensure everything during your big day runs smoothly. Everyone involved in your wedding will also receive a custom, relevant wedding day timeline in addition to a master timeline so that they know what to expect and everyone is on the same page (pun definitely intended).
Wedding days, as glamorous and romantic as they are, can no doubt become overwhelming if there is no structure to help guide you through the day. Breaking down your entire wedding day into clearly defined time slots can help everyone and everything stay on track.
Now, we totally understand that the last thing you probably want to do is even more planning, so we’ve created a step-by-step checklist on how you can create your own wedding day timeline.
Step 1: Fill in the most important, non-negotiable time slots first
The very first step is to fill in the times with activities that are already concrete. This could be something like your ceremony start time, what time the venue allows you to start setting up, and what time your venue reservation is over. This is a powerful starting point that will help you create the rest of the schedule.
Step 2: Schedule in important times for your vendors: wedding caterers, makeup artists, photographers, etc.
Now it’s time to schedule in the almost non-negotiable time slots. Remember that your wedding timeline is not just for yourself and your spouse, but also for all the caterers, makeup artists, videographers and photographers, the DJ, and anyone else you hired to help out during your wedding. You’ll want to make sure each vendor knows what time they need to arrive at the venue, to set up, and when to finish. This will take some collaboration with each vendor, as you want to make sure they all have sufficient time to perform their job. Also, they’re wedding professionals! So make sure to ask for their input to avoid any miscommunication and confusion.

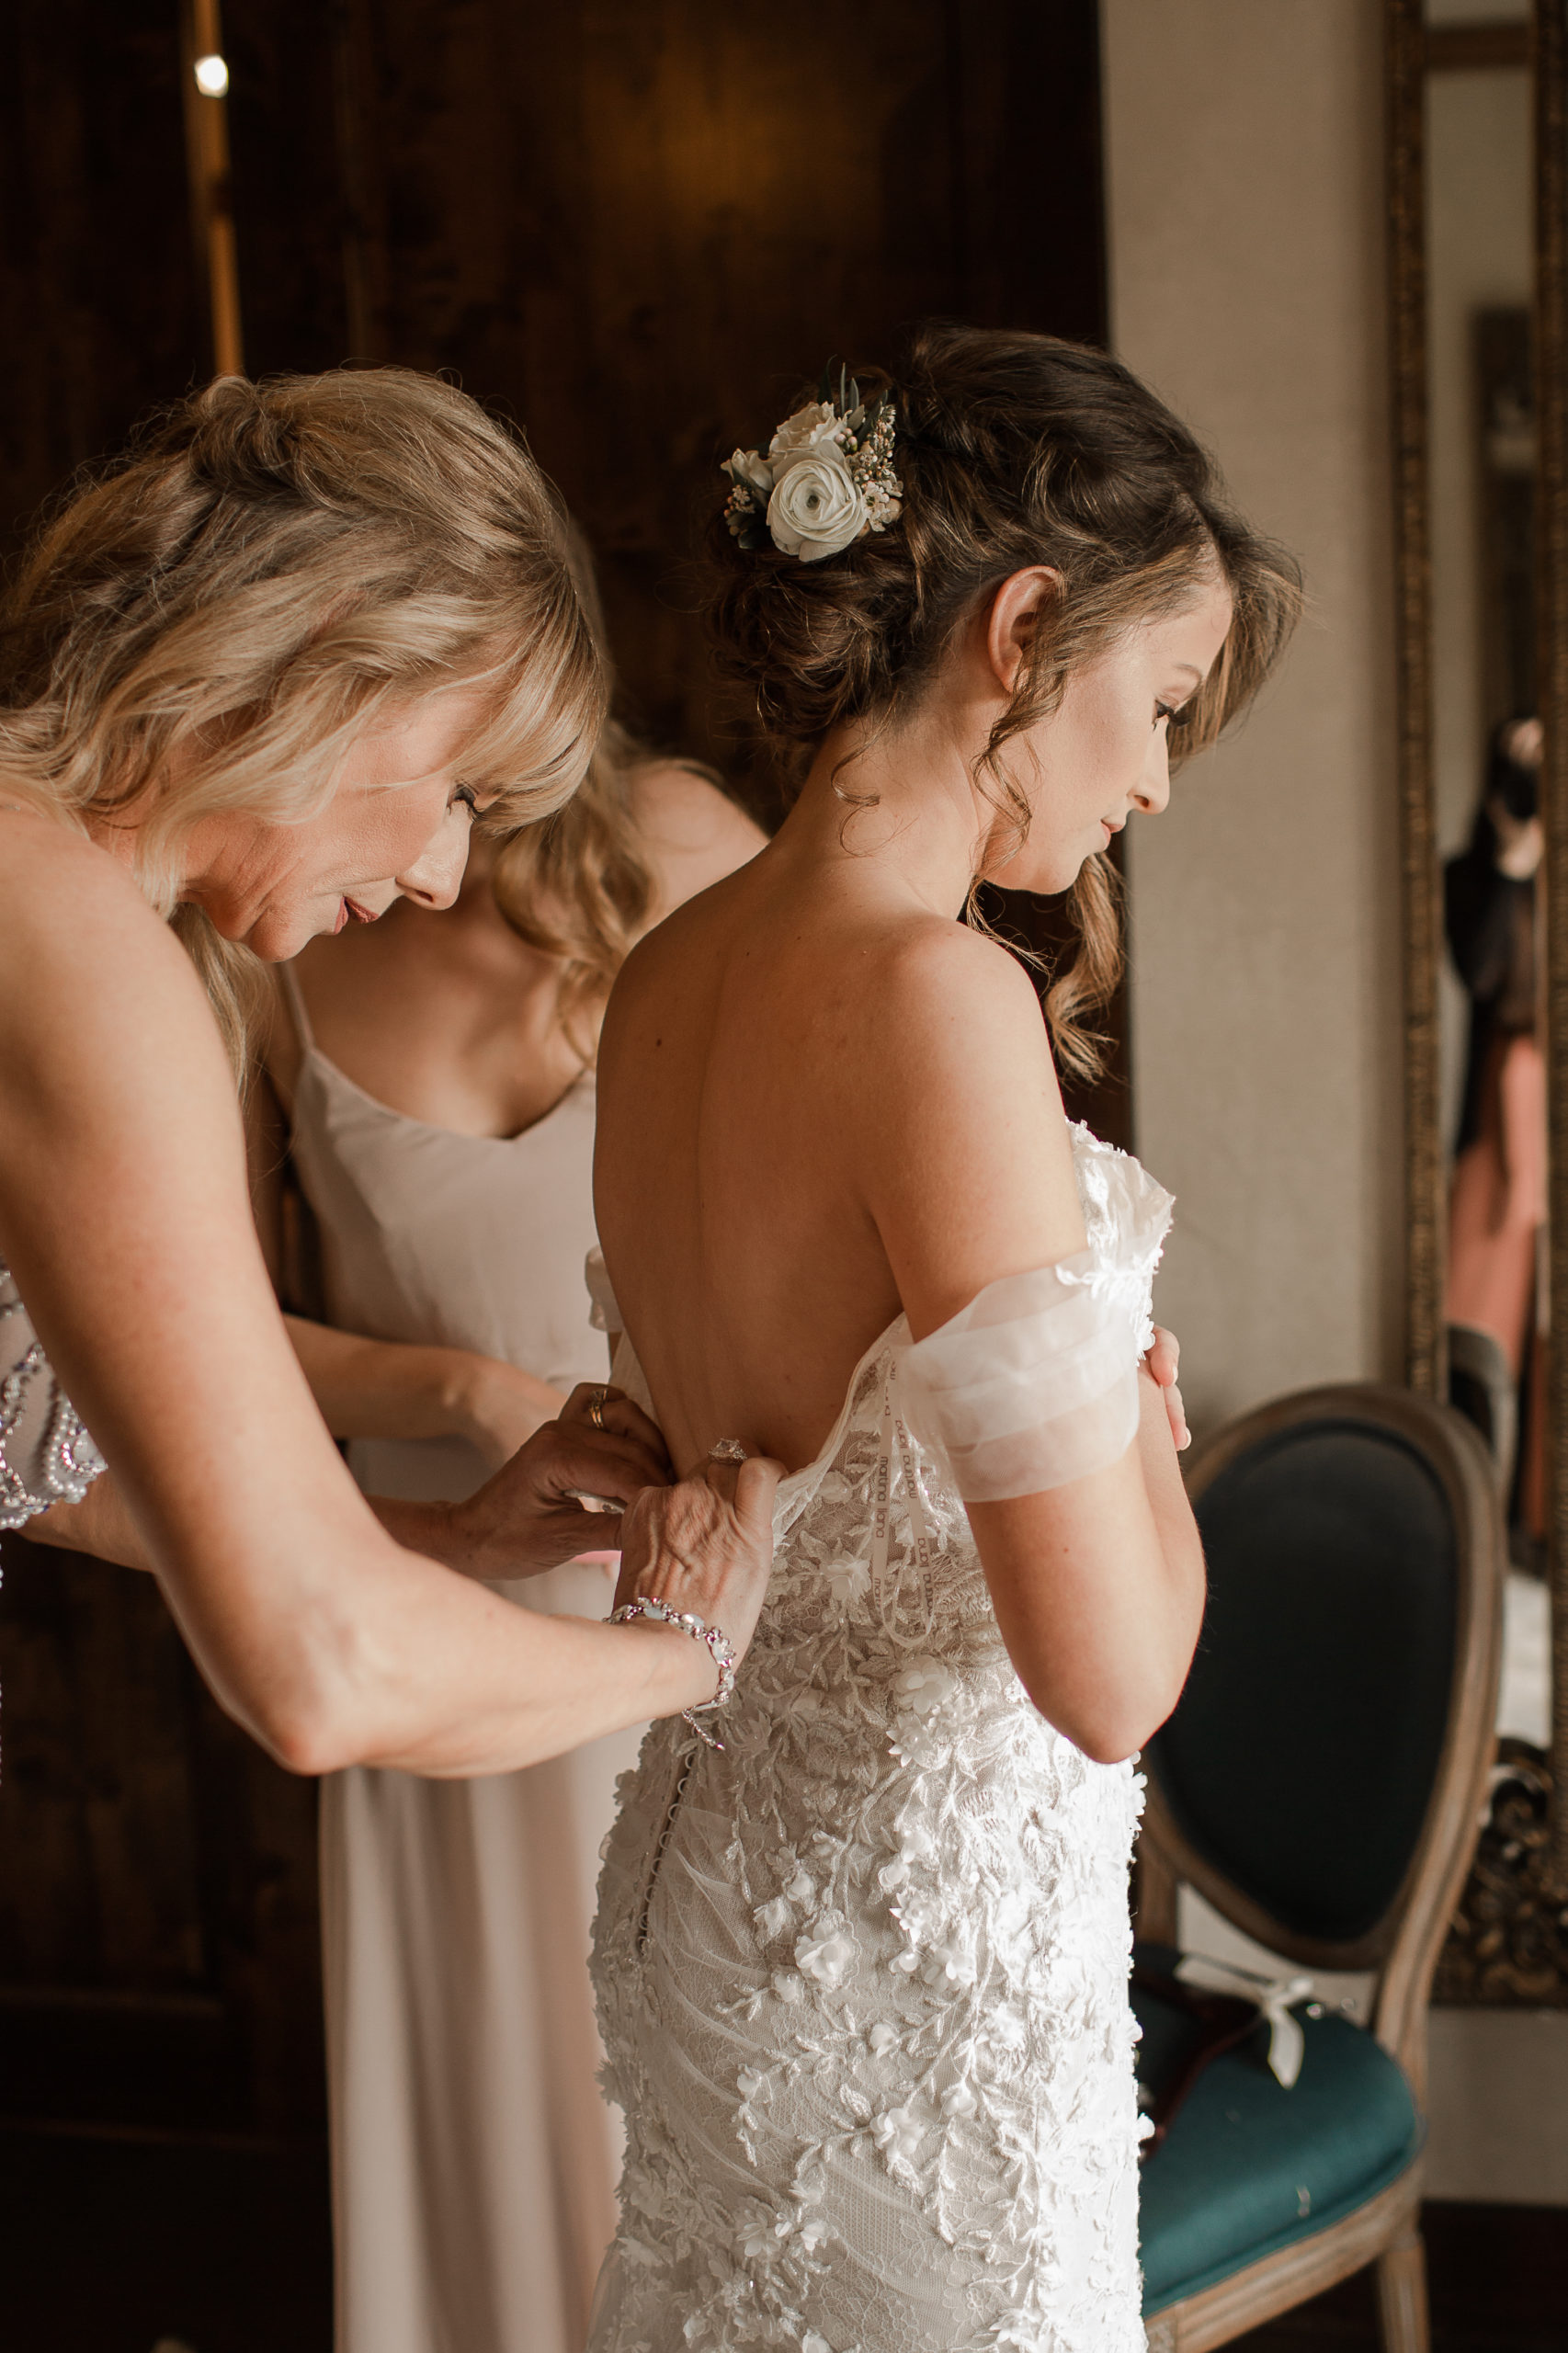
Photography by Wild Love Photography
Step 3: Fill in the rest of the timeline with all other activities
Now that you’ve got the most important time slots filled in, it’s now time to decide how much time to allocate for each activity for the rest of the wedding day. Continue to use the technique of scheduling in the most important moments first, all the way down to the parts of the day that are much more flexible.
Step 4: Fill in contact details
In case of emergency, make sure to include main contact information to avoid potential chaos. Your wedding is going to be a busy day and so filling out contact details will save a lot of time and potential headaches.
Step 5: Hand out your timeline to all the relevant people involved in the wedding
Ah, finally! Your planning is complete and now you can distribute the custom and master wedding day timeline to all the people involved in your wedding. This can include your wedding food caterers, photographers and videographers, makeup artists, bridal and grooms party, decorators, the venue, the parents, and the secret dance team you hired to surprise your spouse. You and everyone else will feel prepared for the day, and not to mention incredibly relieved that all there is to think about now is what dance move to perform to enter the dance circle.

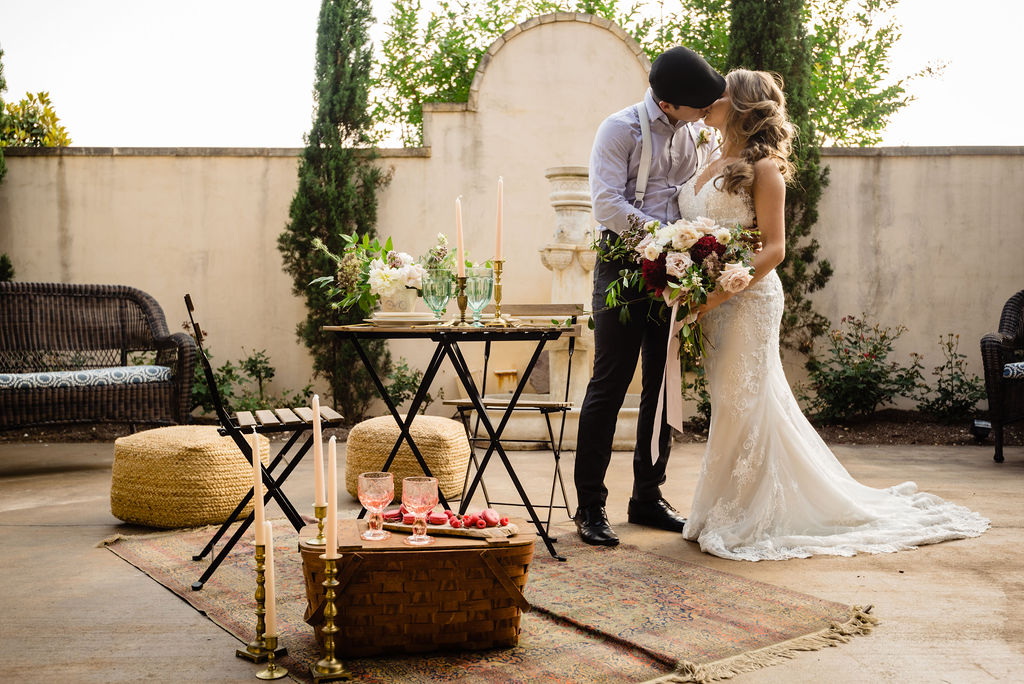
Photography by The Bird and the Bear
Some Extra Wedding Timeline Tips You Don’t Want to Forget
- Distribute your wedding day timeline a few weeks before your wedding day to allow time to adjust for any necessary modifications.
- Leave some flexibility in your timeline to account for possible small delays.
- Make your timeline readable and simple — there are probably a lot of details you’d like to include to be safe, but too many notes or even too much decoration can make the timeline confusing. Simple and sweet does the trick here!
- Relax and enjoy your night! If you’ve distributed and collaborated with the key people in your wedding already, then trust in their professionalism and capabilities so you can fully enjoy the night you’ve waited so long for.
Example of a Wedding Timeline:
10:00 a.m-2:00 p.m.: Set-up begins. The makeup and hair artists arrive. Vendors arrive.
2:00 p.m.: Photographer and videographer arrives
2:30 p.m.: The wedding party is dressed and ready for photos. It’s time for the bride to get dressed now for her own getting-ready photos.
3:00 p.m.: Bridal party and groom party photos.
3:30 p.m.: Optional first look photos.
3:30 – 4:00 p.m.: Bride and groom photos if opting for the first look.
4:00 – 5:00 p.m.: Family photos and additional wedding party photos.
5:30 p.m.: Ceremony begins.
6:00 p.m.: Ceremony ends and cocktail hour begins.
6:00 p.m.: Additional sunset photos.
7:00 p.m.: Reception begins.
7:10 p.m.: Grand entrance and first dance with the bride and groom.
7:30 p.m.: Speeches & toasts.
7:45 p.m.: Dinner begins.
8:15 p.m.. Parent dances, bouquet toss, garter toss, and cake cutting.
9:00 p.m.: Open dance floor.
11:30 p.m. Reception ends.
© 2018-2025 COpYRIGHT MA MAISON
PRIVACY STATEMENT
weddings
about ma maison
info@themamaison.com
TERMS & CONDITIONS
Branding Refresh & Website Design by Emily Foster Creative
video tour
press & awards
galleries
where to stay
FAQs
CHECK MY DATE
blog
home
Ma Maison is a Dripping Springs wedding venue conveniently located outside Austin, Texas in the scenic Hill Country. Book your Austin wedding venue today.
Resources
512.777-1642
WE CAN’T WAIT TO MEET YOU AND HOST YOUR PERFECT EVENT!
follow along elsewhere
Explore
Always Classic, on the Daily
Ma Maison